Chapter #16: Virtualization and Containers
In this chapter, you'll learn how to run multiple operating systems simultaneously using virtualization, manage virtual machines with VirtualBox and KVM, work with Docker containers, and understand when to use each technology for maximum efficiency.

In the previous chapter, we set up web servers and learned to host websites on Ubuntu. Now we'll explore virtualization and containers - technologies that let you run multiple isolated systems on a single computer.
Imagine running Windows, macOS, and three different Linux distributions simultaneously on your Ubuntu machine or testing your application in 10 different environments without buying 10 computers, this is where virtualization and containers make it possible.
These technologies are fundamental to modern computing, where developers test software in isolated environments, system administrators manage thousands of virtual servers, and companies build entire data centers without physical hardware.
Understanding when to use virtual machines versus containers is crucial because they solve different problems. Sometimes you need the complete isolation of a full virtual machine. Other times, the lightweight efficiency of containers is exactly what you need.
Here's what we'll cover in this chapter:
- Virtualization fundamentals - understanding virtual machines.
- VirtualBox - user-friendly virtualization for beginners.
- QEMU/KVM - Linux-native high-performance virtualization.
- Virtual machine management - creating, configuring, and cloning VMs.
- Docker containers - a lightweight alternative to VMs.
- Docker Compose - managing multi-container applications.
- Use cases - when to use VMs vs containers.
- Performance considerations - resource management and optimization.
By the end of this chapter, you'll be able to confidently run multiple operating systems and isolated environments on your Ubuntu machine, whether you're testing software, learning new systems, or building complex development environments.
Understanding Virtualization
Before we start installing software, let's understand what's really happening when you run a virtual machine, because once you grasp this concept, everything else makes sense.
What is a Virtual Machine?
A virtual machine (VM) is a computer inside your computer. It's software that pretends to be hardware. The VM thinks it's a real computer with its own CPU, RAM, hard drive, and network card - but everything is simulated by your actual hardware.
Key concepts:
- Host OS - Your main operating system (Ubuntu).
- Guest OS - Operating system running inside the VM (Windows, another Linux distro).
- Hypervisor - Software creating and managing VMs (VirtualBox, KVM).
- Snapshot - Saved state of a VM you can restore later.
Why use virtual machines?
- Testing - Try new software without risking your main system.
- Development - Test applications on different operating systems.
- Learning - Experiment with Linux distributions safely.
- Isolation - Run untrusted software in a sandbox.
- Legacy software - Run old applications requiring older OS versions.
Installing VirtualBox in Ubuntu
VirtualBox is where most people start their virtualization journey, and for good reason, it is free, runs on every major operating system, and has a straightforward interface that doesn't require you to be a Linux expert.
sudo apt update
sudo apt install virtualbox virtualbox-ext-pack
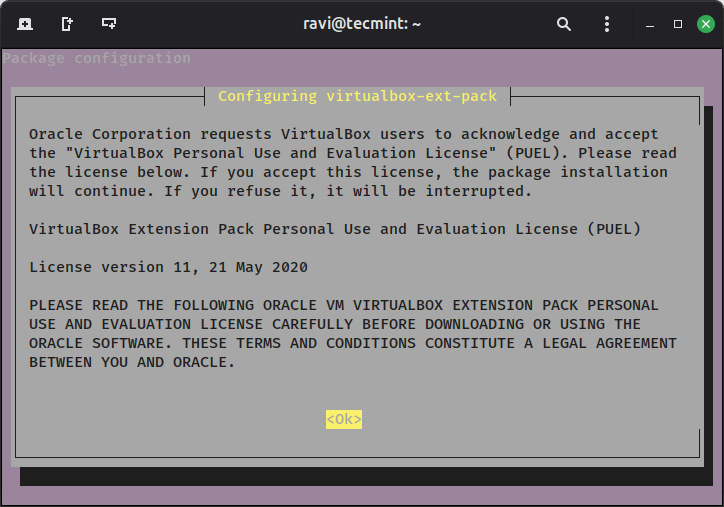
The extension pack adds useful features like USB 3.0 support, disk encryption, and the ability to remotely access your virtual machines. During installation, you'll need to accept Oracle's license agreement for the extension pack.
Next, you need to add your user account to the vboxusers group, permitting you to use VirtualBox's advanced features like USB device passthrough. You'll need to log out and back in for this change to take effect.
sudo usermod -aG vboxusers $USER
Creating Your First Virtual Machine
Open VirtualBox from your applications menu, where you will see a fairly simple interface with a toolbar at the top and an empty space where your virtual machines will appear.
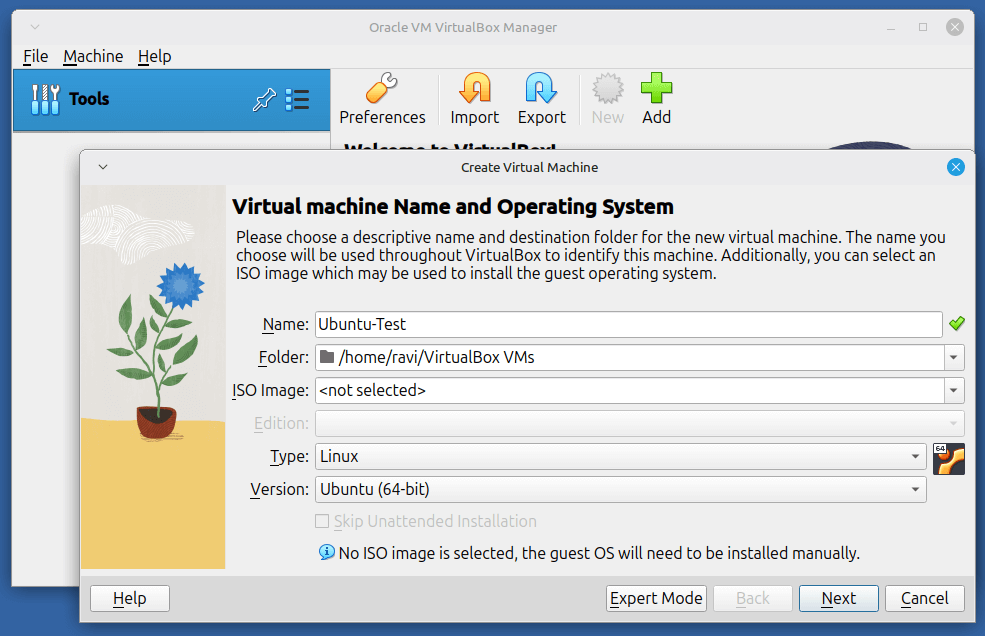
To start creating your first VM, click the “New” button, which will open the setup screen where you need to fill in some details:
- Name: Give your VM a clear, descriptive name like
Ubuntu-TestorWindows-10. - Folder: This is where VirtualBox will store the VM files on your computer. You can leave it as the default or choose a different location.
- ISO Image: This is the installation file for the operating system you want to use. For example, for Ubuntu, select the Ubuntu
.isofile you downloaded. - Edition: Some operating systems, like Windows, have different editions (e.g., Home or Pro). Pick the one that matches your ISO.
- Type: The general OS type (Linux, Windows, etc.), which usually guesses this automatically when you enter the name.
- Version: The specific version of the OS (e.g., Ubuntu 22.04 or Windows 10 64-bit). VirtualBox often selects the correct version for you.
Once these fields are filled, click Next to continue to memory allocation. Here, you decide how much of your computer’s RAM to dedicate to the VM. Be careful, your host system will have the remaining RAM. For beginners, a good starting point is 2GB for Linux and 4GB for Windows.