Chapter #15: Web Servers and Self-Hosting
In this chapter, you'll learn how to transform your Ubuntu system into a web server, host websites locally, secure them with HTTPS, install WordPress, configure domains, and implement essential security practices.

In the last chapter, you set up a full development environment with programming languages, databases, and tools. Now you’ll use that foundation to run a real web server and host actual websites.
A web server is software that sends web pages to people’s browsers, for example when someone types in a website address, their browser asks the server for the page and then the server responds with the files that make up the site HTML, CSS, JavaScript, images, and more.
Whether you want to host your personal blog, run a local development server, create a home media server, or learn server administration, this chapter provides everything you need to get started.
Here's what we'll cover:
- Apache and Nginx - the two most popular web servers.
- LAMP stack - Linux, Apache, MySQL, PHP setup.
- Local website hosting - serving sites from your machine.
- HTTPS with SSL/TLS - securing connections with encryption.
- WordPress installation - setting up the world's most popular CMS.
- Domain configuration - connecting domains to your server.
- Basic server security - protecting your web server.
By the end of this chapter, you'll be running your own web server and hosting websites securely.
Understanding Web Servers
Before installing anything, let's understand what web servers do and how to choose between options.
What is a Web Server?
A web server is a program that listens for HTTP requests (when someone visits your site) and responds with files (HTML pages, images, etc.), it act as the middleman between your website files and visitors' browsers.
Apache vs Nginx:
- Apache - One of the oldest and most widely used web servers, due to its flexible, feature-rich, and easier configuration. It also supports
.htaccessfiles, which allow easy per-directory settings. - Nginx - A newer and faster alternative, which is designed to handle a large number of connections efficiently, which is why many high-traffic websites use it.
For beginners, Apache is usually simpler to start with, but for high-performance or large-scale applications, Nginx often provides better speed and handling of heavy traffic.
If you ever want to run both at once, you must either change one server to a different port (for example, run Nginx on 8080) or set up one server as a reverse proxy, which is a more advanced configuration.
Installing Apache Web Server
Apache has been one of the most widely used web servers since 1995, and it’s still extremely popular today and installing it on Ubuntu is straightforward.
sudo apt update                   # Update package lists
sudo apt install apache2          # Install Apache
sudo systemctl start apache2      # Start Apache
sudo systemctl enable apache2     # Enable Apache to start on boot
sudo systemctl status apache2     # Check status
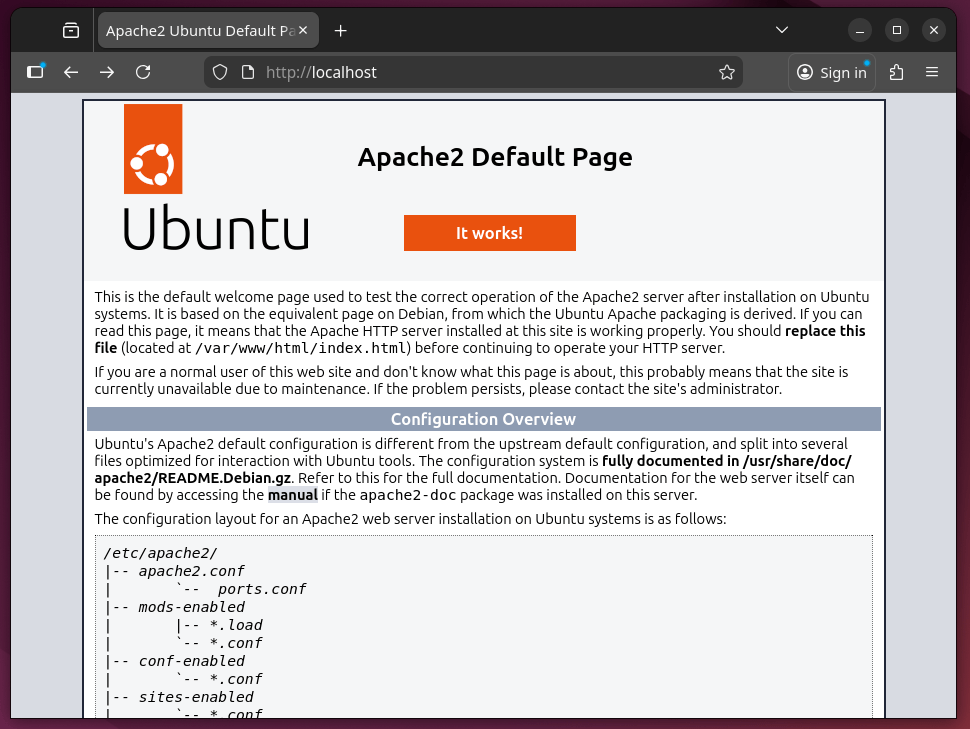
Once installed, you can test your installation by going to:
http://localhost
or
http://127.0.0.1
If Apache is running correctly, you’ll see the Apache2 Ubuntu Default Page with the message “It works!”.
Understanding Apache’s File Structure
Apache stores its configuration and website files in specific folders and following are the important ones: