Lesson 66: dmesg Command
In this lesson, you'll learn how to use the dmesg command to view kernel ring buffer messages and diagnose hardware events in Linux.
The dmesg command displays the messages from the kernel ring buffer. A system passes multiple run levels from where we can get a lot of information, like system architecture, CPU, attached device, RAM, etc.
When the computer boots up, a kernel (the core of an operating system) is loaded into memory.
During that period, several messages are displayed where we can see hardware devices detected by the kernel.
The messages are very important in terms of diagnosing purposes in case of device failure.
When we connect or disconnect hardware devices on the system, with the help of the dmesg command we come to know detected or disconnected information on the fly.
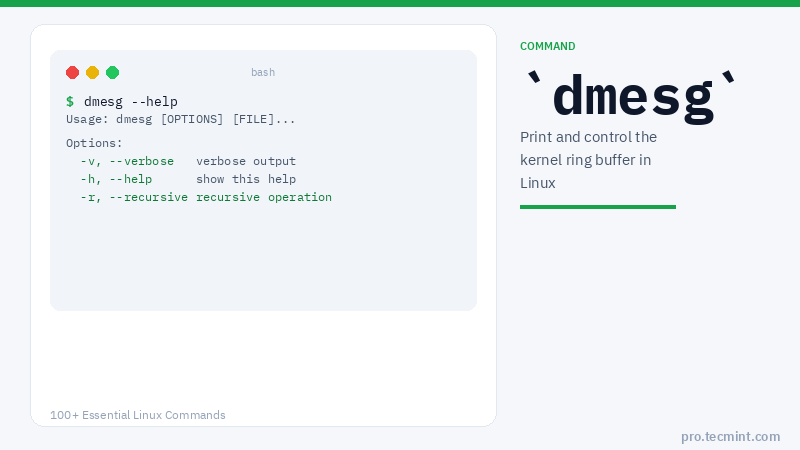
The dmesg command is available on most Linux and Unix-based operating systems.
dmesg Command Syntax
The exact syntax of dmesg is as follows:
# dmesg [OPTIONS]
dmesg Command Options
| Option | Description |
|---|---|
-c |
Clear the dmesg ring buffer log after printing |
-T |
Print human-readable timestamps |
-l LEVEL |
Filter messages by log level (e.g. err, warn, info) |
-H |
Enable human-readable output |
-w |
Follow/watch new messages in real time |
1. List All Loaded Drivers in Kernel
We can use text-manipulation tools such as more, tail, less, or grep with the dmesg command.
As the output of dmesg log won't fit on a single page, using dmesg with pipe more or less command will display logs on a single page.
[root@TecMint ~]# dmesg | more
[root@TecMint ~]# dmesg | less
[    0.000000] Initializing cgroup subsys cpuset
[    0.000000] Initializing cgroup subsys cpu
[    0.000000] Initializing cgroup subsys cpuacct
[    0.000000] Linux version 3.11.0-13-generic (buildd@aatxe) (gcc version 4.8.1 (Ubuntu/Linaro 4.8.1-10ubuntu8) ) #20-Ubuntu SMP Wed Oct 23 17:26:33 UTC 2013 (Ubuntu 3.11.0-13.20-generic 3.11.6)
[    0.000000] KERNEL supported cpus:
[    0.000000]   Intel GenuineIntel
[    0.000000]   AMD AuthenticAMD
[    0.000000]   NSC Geode by NSC
[    0.000000]   Cyrix CyrixInstead
[    0.000000]   Centaur CentaurHauls
[    0.000000]   Transmeta GenuineTMx86
[    0.000000]   Transmeta TransmetaCPU
[    0.000000]   UMC UMC UMC UMC
[    0.000000] e820: BIOS-provided physical RAM map:
[    0.000000] BIOS-e820: [mem 0x0000000000000000-0x000000000009fbff] usable
[    0.000000] BIOS-e820: [mem 0x00000000000f0000-0x00000000000fffff] reserved
[    0.000000] BIOS-e820: [mem 0x0000000000100000-0x000000007dc08bff] usable
[    0.000000] BIOS-e820: [mem 0x000000007dc08c00-0x000000007dc5cbff] ACPI NVS
[    0.000000] BIOS-e820: [mem 0x000000007dc5cc00-0x000000007dc5ebff] ACPI data
[    0.000000] BIOS-e820: [mem 0x000000007dc5ec00-0x000000007fffffff] reserved
[    0.000000] BIOS-e820: [mem 0x00000000e0000000-0x00000000efffffff] reserved
[    0.000000] BIOS-e820: [mem 0x00000000fec00000-0x00000000fed003ff] reserved
[    0.000000] BIOS-e820: [mem 0x00000000fed20000-0x00000000fed9ffff] reserved
[    0.000000] BIOS-e820: [mem 0x00000000fee00000-0x00000000feefffff] reserved
[    0.000000] BIOS-e820: [mem 0x00000000ffb00000-0x00000000ffffffff] reserved
[    0.000000] NX (Execute Disable) protection: active
.....
2. List All Detected Devices
To discover which hard disks have been detected by the kernel, you can search for the keyword "sda" along with grep like shown below.