Lesson 49: partx Command
In this lesson, you'll learn how to use the partx command to inform the kernel about disk partitions in Linux.
partx is a simple yet useful command-line utility oriented towards the maintenance of your Linux system.
It is used to tell the kernel about the presence and numbering of partitions on a disk.
Note: You need to run partx with root privileges, otherwise use the sudo command to gain root privileges.
partx Command Syntax
# partx [OPTIONS] DEVICE
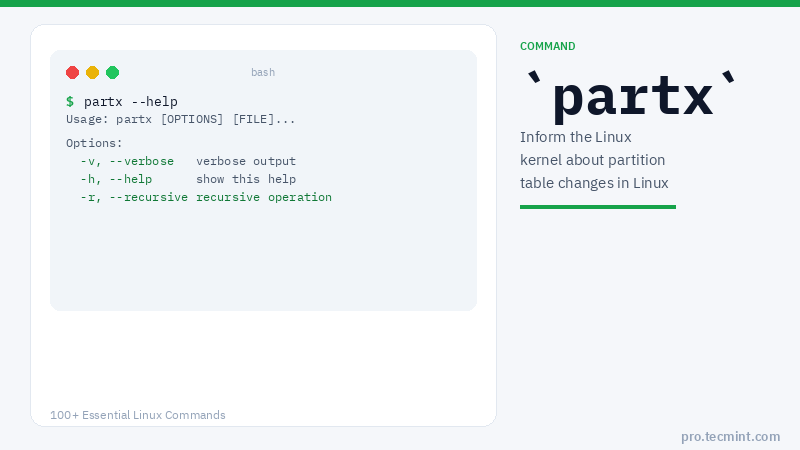
partx Command Options
| Option | Description |
|---|---|
--show |
Display the partition table of a disk |
--nr N or --nr N:M |
Specify a single partition or range of partitions |
-o COLUMNS |
Define the output columns to display |
-a |
Add all partitions to the system |
-d |
Remove partitions from the system |
-v |
Enable verbose mode |
-t TYPE |
Specify the partition table type |
-g |
Disable the output headers |
1. List the Partition Table of a Disk
To list the partition table of the disk, you can run any of the following commands.
Note that, in this case, partx will see sda1 as a whole disk rather than as a partition (replace /dev/sda1 with the appropriate device node you want to deal with on your system):
# partx --show /dev/sda1
Or:
# partx --show /dev/sda1 /dev/sda
NR  START     END SECTORS  SIZE NAME UUID
 1   2048 2099199 2097152    1G
2. List All Partitions on a Disk
To list all sub-partitions on /dev/sda (note that the device is used as a whole disk), run:
# partx --show /dev/sda
NR    START      END  SECTORS  SIZE NAME UUID
 1     2048  2099199  2097152    1G
 2  2099200 41943039 39843840   19G
 3 41943040 83886079 41943040   20G