Chapter 5: Managing Icinga 2 with Icinga Director
In this chapter, you'll learn how to install Icinga Director, connect it to your Icinga 2 setup, run the kickstart wizard, and create your first host through the web UI.
In Chapter 4, you manually set up Icinga 2 agents on remote servers and created host and service configuration files by hand under /etc/icinga2/zones.d/icinga2-master/, which is fine when you are working with just a few servers, and you are comfortable writing Icinga configuration files directly.
But as your environment grows to dozens or even hundreds of servers, managing everything through flat config files starts to feel slow and risky, because a small typo can break a config, and keeping everything consistent becomes harder over time.
This is where Icinga Director helps, which is a web-based configuration tool that runs inside Icinga Web 2. Instead of editing configuration files manually, you can create hosts, define services, and apply templates directly from a browser.
Once you are done, Director automatically generates the correct Icinga 2 configuration and deploys it with a single click.
In this chapter, you will install Icinga Director, connect it to your existing Icinga setup, run the kickstart wizard, and then create your first host using the web interface.
One important thing to understand:
The hosts you created in Chapter 4, such as web-server-01 and web-server-02, are still defined in the manual config files under /etc/icinga2/zones.d/icinga2-master/.
They will continue to appear in the dashboard exactly as before, but Icinga Director does not modify or manage those files.
Instead, the Director works in parallel with your existing setup and manages its own configuration separately, and does not interfere with anything you wrote manually.
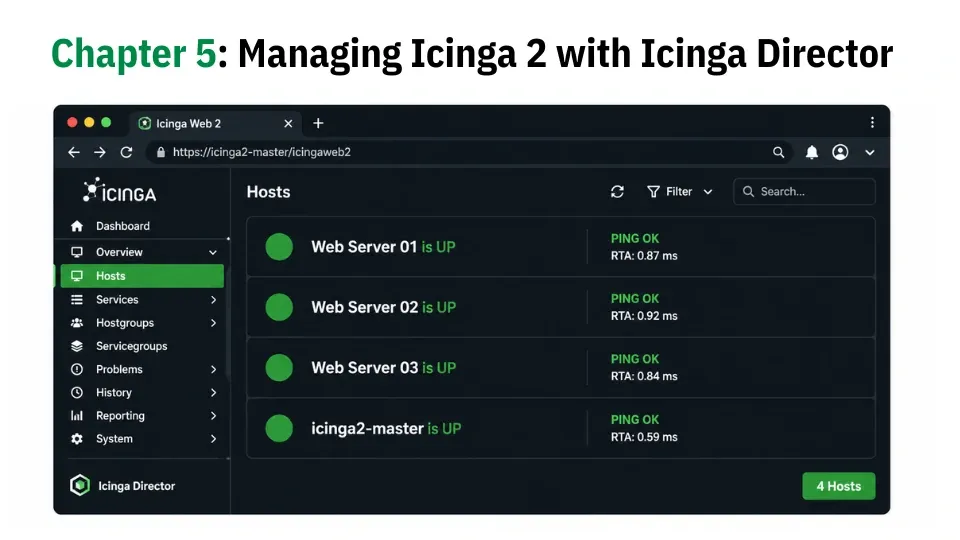
To demonstrate the difference in workflow, you will create a new host called web-server-03 using the Director UI.
Note that migrating existing manually defined hosts into Director is possible, but that is not covered in this guide.