Lesson 21: gzip Command
In this lesson, you'll learn how to use the gzip command to compress and decompress files in Linux.
gzip stands for GNU zip, and it is a very popular compression and decompression utility.
One of the primary reasons for its popularity is its high compression ratio and speed, which means the compressed data remains the same after decompression.
The gzip command uses a deflate algorithm, which is a lossless data compression that creates a smaller file size to make file transfer much faster, as compared to other compression tools.
gzip Command Syntax
Just like any other Linux command, the gzip command's syntax is divided into two parts — OPTIONS and FILES.
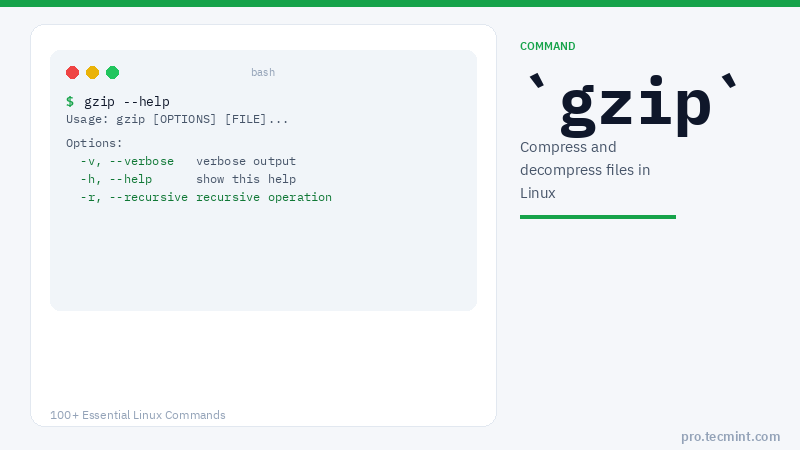
$ gzip [OPTIONS]... [FILES]...
In the above syntax, the OPTIONS are used to alter the behavior of the command, whereas the FILES represent the input files.
gzip Command Options
| Option | Description |
|---|---|
-k |
Keep the original file after compression |
-l |
List information about a compressed file |
-f |
Force overwrite of existing compressed files without confirmation |
-d |
Decompress a compressed file |
-r |
Recursively compress all files in a directory |
--fast |
Prioritize compression speed over compression ratio |
--best |
Prioritize compression ratio over compression speed |
-1 to -9 |
Set compression level (1 = fastest, 9 = slowest/best ratio) |
--suffix |
Change the default .gz file extension suffix |
1. Create a Gzip File in Linux
One of the very common uses of the gzip command is to compress a large file. It is very common to see large ISO files or tar bundles compressed to save disk space.
To compress a single file, we just need to pass the file name to the gzip command. To understand this, let's use the following command to compress an ISO file:
$ gzip alma-linux.iso
Now, let's use the ls command to verify that the file has been compressed:
$ ls
alma-linux.iso.gz
In the above output, we can see the new compressed file with the name alma-linux.iso.gz.
We can also observe that, by default, the gzip command adds a .gz extension to a compressed file.
2. Create Gzip and Keep Original File
In the previous example, we saw how easy it is to compress a file. However, if we observe carefully, we can notice that the gzip command deletes the original file after compressing it.
However, sometimes we want to keep the original file as well. In such cases, we can use the -k option as shown.
$ gzip -k alma-linux.iso
$ ls
alma-linux.iso alma-linux.iso.gz
In the above output, we can see that the original file is intact even after the compression.