Chapter 5: Installing SSH on Windows
In this Chapter 5, learn how to install SSH on Windows using OpenSSH, PuTTY, and WSL, and get your SSH client ready for secure remote connections.
In the previous chapter, you learned how to install and set up SSH on Linux and macOS.
Windows has traditionally been left out of the SSH conversation, but that has changed significantly in recent years.
Today, Windows offers multiple ways to use SSH from the built-in OpenSSH client to third-party tools like PuTTY and the Windows Subsystem for Linux.
In this chapter, you will learn all the options available to you as a Windows user and how to get SSH working on your machine.
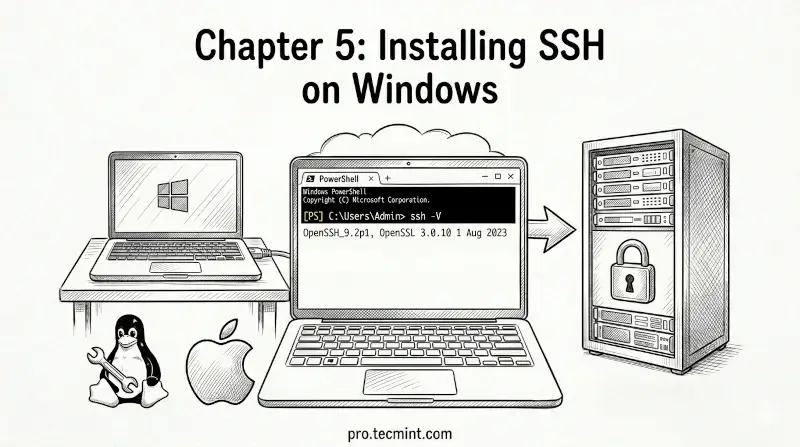
Multiple Ways to Use SSH on Windows
Unlike Linux and macOS where OpenSSH is the only tool you need, Windows gives you several different ways to use SSH and each has its own strengths depending on your workflow:
- Built-in OpenSSH Client - available natively in Windows 10 and Windows 11, no installation needed.
- PuTTY - a popular third-party SSH client with a graphical interface, widely used before OpenSSH came to Windows.
- Windows Subsystem for Linux (WSL) - runs a full Linux environment inside Windows, giving you native Linux SSH tools.
- PowerShell - can use the built-in OpenSSH client directly from the PowerShell terminal.
Each option is valid, and the one you choose depends on how you prefer to work, so let us go through each one.