Chapter #8: Setting Up System Storage with LVM and SSM
In this chapter, learn how to configure system storage in RHEL using classic tools like parted, LVM, and the simplified System Storage Manager (SSM).
In this chapter, we will discuss how to set up and configure local system storage in Red Hat Enterprise Linux using classic tools and introduce the System Storage Manager (also known as SSM), which greatly simplifies this task.
Please note that we will present this topic in this chapter, but will continue its description and usage in the next one (Chapter 9) due to the vastness of the subject.
Creating and Modifying Partitions
In RHEL, parted is the default utility to work with partitions, and will allow you to:
- Display the current partition table
- Manipulate (increase or decrease the size of) existing partitions
- Create partitions using free space or additional physical storage devices
It is recommended that, before attempting the creation of a new partition or the modification of an existing one, you should ensure that none of the partitions on the device are in use (umount /dev/partition), and if you’re using part of the device as swap, you need to disable it (swapoff -v /dev/partition).
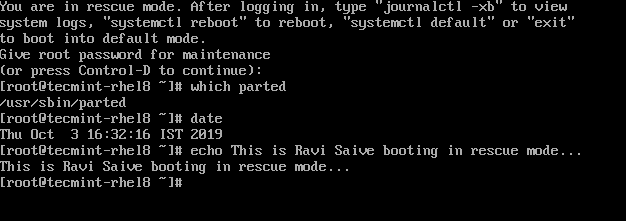
The easiest way to do this is to boot RHEL in rescue mode using the following command:
systemctl rescue
You will then be presented with a shell prompt (as shown in Fig. 1):
To start parted, simply type:
parted /dev/sdb
where /dev/sdb is the device where you will create the new partition. Next, type print to display the current drive’s partition table.
'gpt' or 'msdos' depending on your use case. GPT is recommended for disks larger than 2 TB.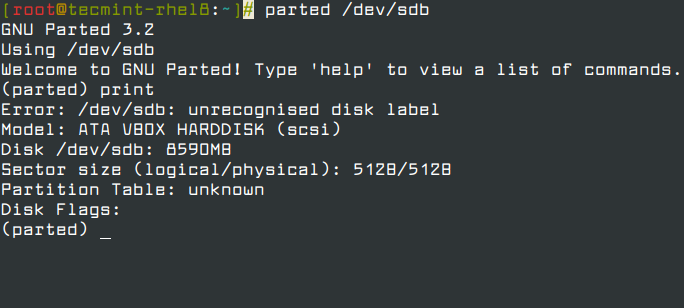
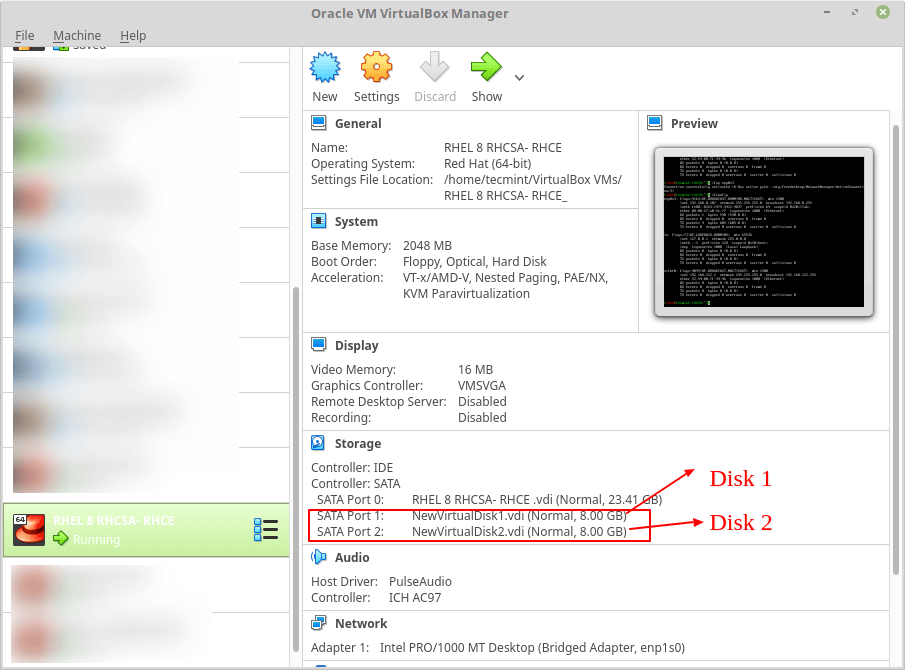
As you can see, in this example, we are using a virtual drive of 8 GB. We will now proceed to create a 7 GB primary partition and then format it with the xfs filesystem, which is the default in RHEL.
You can choose from a variety of file systems. You will need to manually create the partition with mkpart and then format it with mkfs.fstype as usual because mkpart does not support many modern filesystems out of the box.
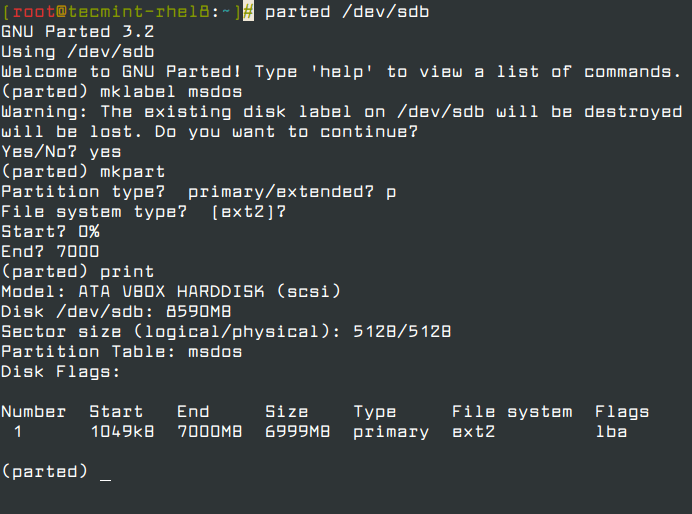
In the following example (see Fig. 4), we will set a label for the device and then create a primary partition on /dev/sdb, which starts at 0% and ends at 7000 MB (7 GB):
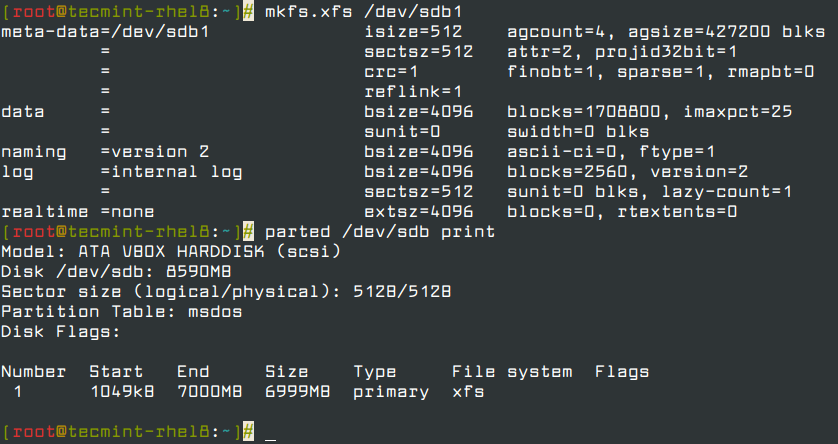
Next, we will format the partition as xfs and print the partition table again to verify that changes were applied (refer to Fig. 5):
mkfs.xfs /dev/sdb1
parted /dev/sdb print
For older filesystems, you could use the resize command inside parted to resize a partition. Unfortunately, this only applies to ext2, fat16, fat32, hfs, linux-swap, and reiserfs (if libreiserfs is installed).
Thus, the only way to resize a partition is by deleting it and creating it again (so make sure you have a good backup of your data!). No wonder the default partitioning scheme in RHEL is based on LVM.
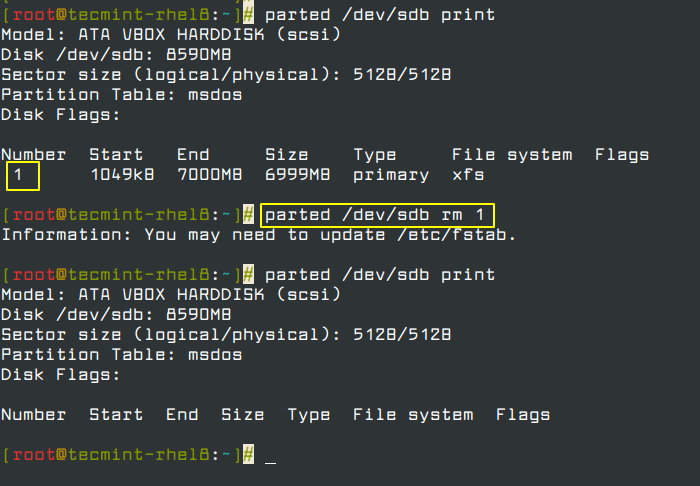
To remove a partition with parted (see Fig. 6):
parted /dev/sdb print
parted /dev/sdb rm 1