
Learn Bash Scripting

Chapter #12: How to Use Arrays in Bash for Server Monitoring and Backups

Learn how to create and use arrays in Bash, access elements, loop through them, and apply them in tasks like server checks and backups.

Till this point, we learned some interesting concepts and functionality that Bash scripts offer us in order to write minimalist and efficient scripts.

In today's lesson, we are going to explore another important concept in programming in general, which we call arrays.

Just like other programming languages, Bash has what we call arrays, which allow us to store multiple data in one single variable. If you remember the lesson on variables, we learned how to store a single value in a variable and then access it as we need it.

Arrays do the same thing, except instead of declaring multiple variables, we only have one that stores multiple values.

What are arrays?

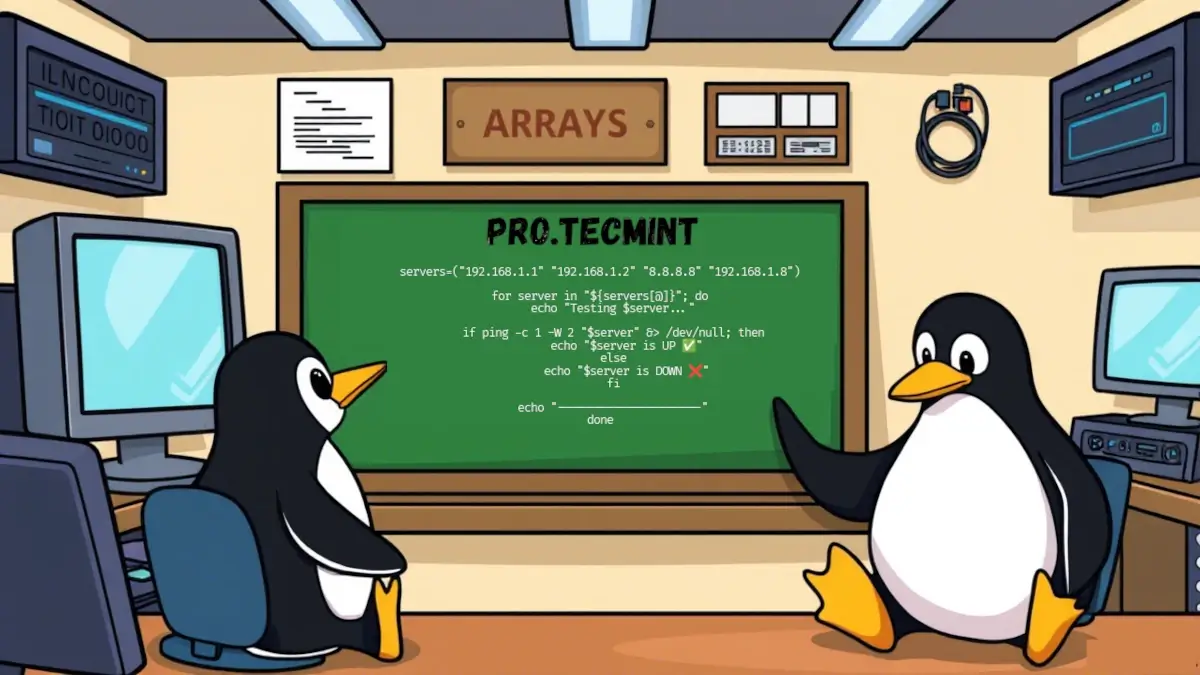
Basically, an array is a variable that can store multiple values, and we can access them separately as we need them. The syntax is similar to what we use to declare a variable, with just a little difference.

To create an array in Bash, we use this syntax:

arr_name=("value1" "value2" ...)

Just like a variable, we start with the name followed by an equal sign, and inside parentheses, we put the values that we want, separated by spaces.

Let's take an example to make this simple:

names=("TecMint" "Bash" "Linux")

In this example, we declare an array called names, and we put the values that we want. You get the idea, now instead of creating a variable for each value, we put them all in one variable, which we call an array.

Accessing Array Elements

Now the question is, how do we actually access the values inside an array, right? Well, unlike regular variables, we use something called indexes to get those values.

Indexes are just the positions of items inside the array. And here's something important to remember: in almost all programming languages, array indexes start at 0, not 1. So in our array, the positions (or indexes) will look like this:

Understanding Array Indexes

Let’s say, for example, we want to access the value "Bash". The syntax would look like this:

names=("TecMint" "Bash" "Linux")
val=${names[1]}
echo $val

We declare a variable called val and assign it a value from the array. The syntax is simple: we write the name of the array, followed by the index of the element we want, just remember, indexes start from 0.

Since we want the element "Bash", and it's the second item in the array, the index will be 1. So we write: names[1]. The index goes inside square brackets.

Now, if we run this script, we’ll get the following result:

$ bash arr.sh 
Bash

To print all the values that we have in an array, we use the symbol @ instead of the index, like this:

names=("TecMint" "Bash" "Linux")
val=${names[@]}
echo $val

This script will give us the following result:

$ bash arr.sh 
TecMint Bash Linux

In some situations, we may need to first know the size of our array. By size, we basically mean the number of elements inside an array.

To get this, we do it like this:

names=("TecMint" "Bash" "Linux")
size=${#names[@]}
echo $size

Since we have three elements in our array, the size will be three:

$ bash arr.sh 
3

In some example scripts, you may see that they don’t use double quotes when declaring an array, like this:

names=(TecMint Bash Linux)

It works fine, but it’s recommended to use double quotes to avoid what we call word splitting. For example, if we have an array like this:

names=(TecMint Shell Script Linux)

Here, because we didn’t use double quotes, Bash will consider the second element as two elements, Shell and Script, because the space is the delimiter.

To solve this, we use double quotes like this:

names=("TecMint" "Shell Script" "Linux")

Now we have just three elements.

Loops with Arrays

Loops are an essential part of scripting, allowing us to avoid repetitive tasks. When we use arrays, in most cases, we also use loops to iterate over the elements in the array.

The most commonly used loop with arrays is the for loop, and we can use it to iterate over array elements like this:

names=("TecMint" "Shell Script" "Linux")

for i in "${names[@]}" 
do 
    echo "$i"
done

Let’s clarify what we did here. First, we start the for loop and declare a variable i (you can call it whatever you want). Then we pass all the elements of the array using ${names[@]}. In this example, we have three elements.

Next, we print each element of the array using echo "$i". If you run this example, you should get a result like this:

$ bash arr.sh 
TecMint
Shell Script
Linux
💡
Note:Even if it shows the second element ("Shell Script") on two lines, it is consideredone element. Don’t be confused! You can check this by printing the size of the array like this:
names=("TecMint" "Shell Script" "Linux")

echo ${#names[@]}

Which will show:

$ bash arr.sh 
3

Or you can try printing the element itself like this:

names=("TecMint" "Shell Script" "Linux")

echo ${names[1]}

Which will show:

$ bash arr.sh 
Shell Script

Real-World Example of Using Arrays

Arrays are used in many situations and use cases in Bash. You need to understand how to use them very well in order to be able to implement them in real-world scenarios where you need to store multiple values and manipulate them.

For this, let's take an example of a real-world case. Suppose you manage servers and need a script to check the down servers in all the servers you have, and you need to check them at once.

For this, you will need an array to store all server IPs in it and then check if they respond or not. You can script it like this:

servers=("192.168.1.1" "192.168.1.2" "8.8.8.8" "192.168.1.0" "192.168.1.8")

for server in "${servers[@]}"; do
    echo "Testing $server..."
    
    if ping -c 1 -W 2 "$server" &> /dev/null; then
        echo "$server is UP ✅"
    else
        echo "$server is DOWN ❌"
    fi
    
    echo "----------------------"
done

Let's break down this script and understand what it does, line by line:

  • In the first line, we declare a variable called servers, which contains the server IPs we want to check. Note that we enclose all of them in double quotes ("").
  • In the second line, we start a for loop, creating a variable called server. We iterate through all the servers in our array, which is why we use @ (to access all elements).
  • Next, we add an echo statement to inform the user which server we’re testing. The variable server will contain an IP from the array, starting from the beginning and going to the end.
  • Then, we use an if statement to check the connectivity of the server using the ping command, which lets us test whether the server is responding or not.
    • -c 1 sends only one request to the server, because by default, ping sends multiple requests.
    • -W 2 means we wait up to two seconds for a response.
  • &> /dev/null redirects the output (both standard output and standard error) to /dev/null. /dev/null is a special file in Linux where anything written to it gets deleted immediately — it's often called a "black hole." In our case, this means we don’t want to see any output on the screen.
  • Next, we have two possible outcomes:

If ping -c 1 -W 2 "$server" is true, meaning we received a response from the server, we print the message:

"$server is UP ✅"

Otherwise, we print:

"$server is DOWN ❌"

The final echo statement prints a line of dashes to separate each server's result from the others.

Now, if we run this script, we should see this result:

Checking Server Status with Bash

Up to this point, you should have a good understanding of how to use arrays, their use cases in Bash, and real-world scenarios.

Challenge

Let's try another real-world example. When working as a system administrator, you'll definitely encounter situations where you need to back up multiple files at once.

Step 1: Create Test Directories

First, for testing purposes, create three folders in the same location as the script: Backend, Documents, and tests.

Step 2: Write a Backup Script

  1. Write a script that backs up the following directories: Backend, Documents, and tests.
  2. The backups should be stored in a directory called backup.
  3. If the backup directory does not exist, create it first.

Note: This backup will be stored in the home directory.

After the backup is completed, display the message:
All backups completed successfully!

If you run the script, the result should look like this:

Create a Simple Backup Script

If you go to the backup directory in your home folder, you should find them like this:

Verifying the Backup Files

Wrapping Up

In this lesson, we explored one of the most useful features in Bash scripting called arrays. You now know how to create arrays, access their elements using indexes, loop through them, and even apply them in real-world situations like checking server status or backing up multiple folders.

Arrays help you write cleaner, more efficient scripts without repeating yourself. Whether you’re managing systems, automating tasks, or just organizing your data, arrays make it all way easier.

Keep practicing with these challenges, tweak the examples, break them, fix them - that’s how you really learn. The more you play around with arrays, the more comfortable you’ll get using them in your own scripts.