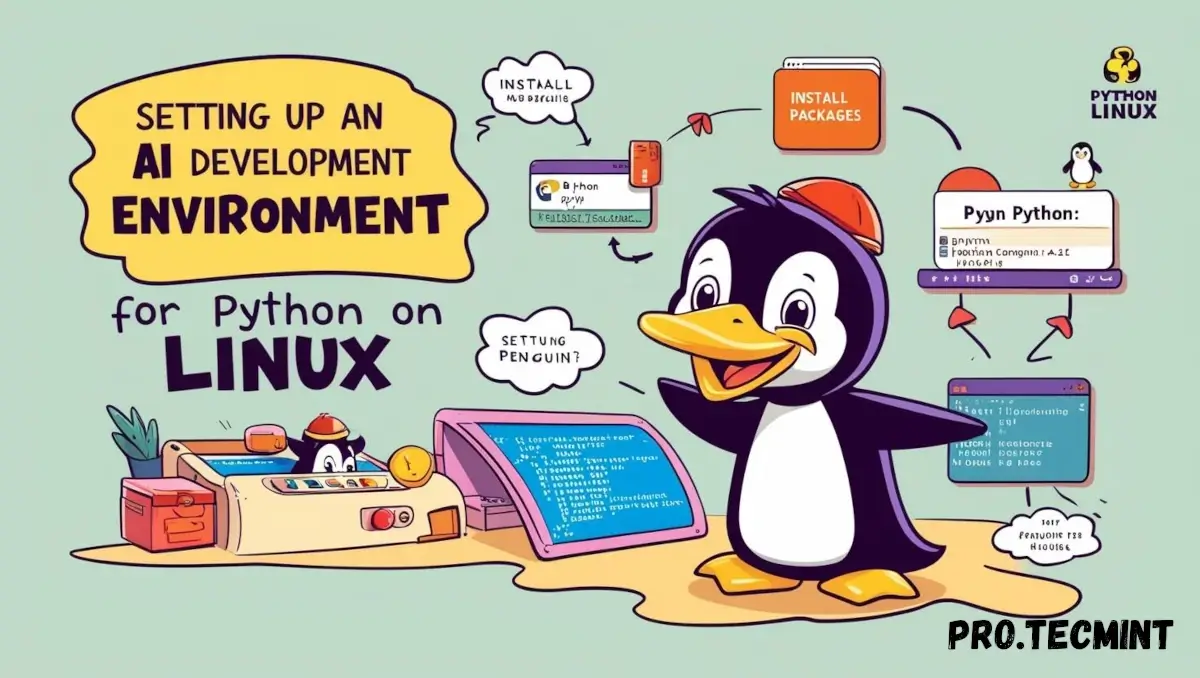
Chapter #2: Set Up an AI Development Environment for Python on Linux
Learn how to set up an AI environment on Linux using Python, TensorFlow, and PyTorch with GPU support for faster model training.

AI has seen incredible growth in the tech industry, especially in recent years, with the rise of large language models (LLMs) like OpenAI's GPT and DeepSeek, which have opened up a new and in-demand field for developers looking to start a career in AI by learning and exploring AI development processes.
Why Choose Linux over Windows for AI Development?
In general, Linux offers greater flexibility and control for development. Most AI tools are built and trained on Linux, making it the preferred environment for AI and machine learning.
It provides all the necessary packages and tools at your fingertips - just install them and start your journey. In contrast, setting up an AI development environment on Windows can be more challenging.
Linux has long been the preferred operating system for developers and data scientists working in AI and machine learning. Hereβs why:
- Open Source & Developer-Friendly: Linux offers more control, customization, and flexibility.
- AI Tools Compatibility: Most AI tools, frameworks, and libraries are developed and optimized for Linux.
- Better Package Management: Installing Python, pip, and other packages is much easier using tools like
apt
,yum
, ordnf
. - Efficient Resource Handling: Linux handles memory and CPU resources better than Windows in most development scenarios.
- Cloud-Ready: Major cloud providers (AWS, GCP, Azure) use Linux-based virtual machines by default.
Python is one of the most widely used programming languages in the field of AI, thanks to its simplicity and the vast ecosystem of libraries and frameworks it supports, including popular ones like PyTorch and TensorFlow.
In this guide, weβll walk you through the steps to set up a fully functional AI development environment on Linux, so you can start building and experimenting with AI tools right away.
What Is an AI Environment?
An AI environment refers to a collection of tools, libraries, and configurations installed on your system that enable you to develop, train, and test artificial intelligence and machine learning models.
Each programming language, especially Python, the most popular language in AI, comes with its own set of tools and frameworks that make up this development environment.
Setting up an AI environment involves installing and configuring everything you need to work on AI projects efficiently.
Key Components of a Python-Based AI Environment
Setting up an AI development environment means preparing your system with the right tools that make working with AI and machine learning easier and more efficient.
In Python-based workflows, this involves installing key frameworks, libraries, and utilities for building models, processing data, and running computations - both on CPU and GPU.
Below are the essential components that make up a complete Python AI environment.
AI & Machine Learning Frameworks
These frameworks are the foundation of AI development, allowing you to build, train, and evaluate machine learning models.
Most are Python-based:
- TensorFlow - An open-source deep learning library developed by Google.
- PyTorch - A widely used deep learning framework favored in research and production.
- Scikit-learn - A powerful library for traditional machine learning algorithms like classification, regression, and clustering.
GPU Acceleration
For deep learning tasks, youβll often need high-performance computation.
Frameworks like TensorFlow and PyTorch support GPU acceleration, allowing you to significantly speed up training by utilizing NVIDIA GPUs with CUDA and cuDNN support.
Data Processing & Visualization Tools
Before training a model, data must be cleaned, processed, and visualized. Here are some essential tools:
- Pandas - For data manipulation and analysis using DataFrames.
- NumPy - For numerical computing with powerful array structures.
- Matplotlib - For basic plotting and data visualization.
- Seaborn (optional) - Built on top of Matplotlib for more advanced statistical plots.
Additional Tools (Optional but Recommended)
Depending on your workflow, you may also need:
- Docker - For containerizing your AI environment, ensuring consistency across systems.
- Jupyter Notebook - A web-based IDE for writing, testing, and documenting your code interactively.
- AWS CLI / GCP SDK / Azure CLI - For integrating your development workflow with cloud platforms.
- Conda / virtualenv - For managing isolated Python environments and dependencies.
System Requirements for AI Development on Linux
Before you get started, hereβs what your system should ideally have:
Minimum Requirements:
- OS: Ubuntu 20.04+ / Debian 12 / Fedora / Arch Linux
- CPU: 4-core processor (Intel i5/Ryzen 5 or higher)
- RAM: 8 GB
- Storage: 100 GB free space
- Python: 3.8 or higher
Recommended (for Deep Learning/GPU Tasks):
- CPU: 6-core or higher (Intel i7/Ryzen 7)
- RAM: 16β32 GB
- GPU: NVIDIA GPU with CUDA support (e.g., RTX 3060+)
- Storage: SSD with at least 250 GB free space
- Other: NVIDIA drivers + CUDA Toolkit + cuDNN
Get Started with Python on Linux
As we mentioned before, the language we're going to use in this guide is Python. All the tools and packages used for AI work with Python behind the scenes, so having it installed is essential.
Most Linux distributions come with Python pre-installed, though it may be an older version.
To check if Python is already installed, run:
python3 --version
Or, for Python 2, you can use the command:
python --version
Alternatively, you can also check with:
python3 -V
If Python is installed, youβll see the version number in the output, like:
Python 3.12.3
It's always a good habit to update and upgrade your system packages before performing any installation.
sudo apt update && sudo apt upgrade
In case Python is not installed, you can install it on Ubuntu or a Debian-based distribution using the command:
sudo apt install python3
Or on Red Hat/Fedora distributions using the command:
sudo dnf install python3
At the time of writing, the latest stable version is 3.12.3. You can always check python.org for the most recent version.
Once Python is ready, we can move on to setting up our development environment.
Set Up a Python Virtual Environment
Using a Python environment will help organize and install all the AI tools and packages in a sandbox-like setup without having them installed separately, which ensures that packages work properly together.
To create a virtual environment, first, you need to install the venv
module.
sudo apt install python3-venv
Now, create the virtual environment.
python3 -m venv my-env
This will create a folder named my-env
in your home directory, containing everything needed for your AI development. You can name it whatever you like.
To activate the environment, use the source
command will activate the environment, which will be an isolated space separate from the system to manage and add packages and dependencies.
source my-env/bin/activate
Once activated, your shell prompt will change, indicating that you're inside the virtual environment.

Install TensorFlow and PyTorch in Your Environment
After installing and creating the virtual environment, you are good to go and install TensorFlow within it using the command:
pip install tensorflow
Make sure you run this command inside the virtual environment, which will download and install TensorFlow and its dependencies inside the environment.
Next, install PyTorch inside the virtual environment with the command:
pip install torch
The process of creating another environment is the same as we did before.
Install VS Code or Codium (Optional)
VS Code is a well-known IDE used for writing code, which has a bunch of plugins and extensions to enhance the development process.
For AI development, VS Code provides specific plugins for TensorFlow and PyTorch. It is not necessary, but it helps with coding and autocompletion.
Both VS Code and Codium can be installed from the software package manager if you use Ubuntu or an Ubuntu-based distro:

Or you can install it using snap
with the command:
sudo snap install --classic code
If you are using Red Hat or Fedora, you can install it via RPM using the following command:
Wget https://code.visualstudio.com/sha/download?build=stable&os=linux-rpm-x64 -O vscode.rpm
sudo dnf install vscode.rpm
VS Code and Codium both support extensions for TensorFlow, PyTorch, Python debugging, and Jupyter notebooks.
Manage Packages Easily with Anaconda
Another way to install and manage AI packages and tools is by using Anaconda. Anaconda can be used to create virtual environments, install third-party libraries, and manage packages.
If you navigate to the official website, you will see that it has a repository with more than 8,000 tools for AI and machine learning, which can be used with Anaconda.
Using the conda
command-line interface, you can:
- Create environments
- Install packages
- Switch between Python versions
Install Miniconda (Lightweight Alternative to Anaconda)
To install Miniconda on Linux, run the following commands, which will create a directory for Miniconda and download the necessary packages.
mkdir -p ~/miniconda3
wget https://repo.anaconda.com/miniconda/Miniconda3-latest-Linux-x86_64.sh -O ~/miniconda3/miniconda.sh
bash ~/miniconda3/miniconda.sh -b -u -p ~/miniconda3
rm ~/miniconda3/miniconda.sh
After installation, activate it using the command:
source ~/miniconda3/bin/activate
You now have access to the conda
command-line tool.
Install TensorFlow with Conda
For example, to install TensorFlow using conda
, run:
conda install conda-forge::tensorflow
Create a Virtual Environment with a Specific Python Version
Conda can also be used to create a virtual environment with a specific Python version.
conda create -n my-env python=3.12
This creates a new virtual environment named my-env
with Python 3.12 installed.
Supercharge AI with CUDA for GPU Acceleration
If you're running deep learning workloads like training models with TensorFlow or PyTorch, using your NVIDIA GPU can massively speed things up.
To do this, you'll need to install CUDA and cuDNN, NVIDIA's libraries that enable GPU support for AI frameworks.
Install NVIDIA Drivers (If Not Already Installed)
First, let's check if your system has an NVIDIA GPU:
lspci | grep -i nvidia
If you see output mentioning NVIDIA, you're good to go.
You can also check GPU details using:
nvidia-smi
If this command works, your NVIDIA drivers are already installed. If not, install the latest proprietary drivers before proceeding.
sudo apt update
sudo apt install nvidia-driver-535
Replace 535
with the recommended driver version for your GPU.
After installation, reboot your system:
sudo reboot
Install CUDA Toolkit via NVIDIA Repository
To install the latest CUDA toolkit, you need to add the official NVIDIA repository
wget https://developer.download.nvidia.com/compute/cuda/repos/ubuntu2204/x86_64/cuda-keyring_1.1-1_all.deb
sudo dpkg -i cuda-keyring_1.1-1_all.deb
sudo apt update
Next, install the CUDA toolkit and related dependencies.
sudo apt install -y cuda-toolkit-12-3 # Replace with latest version
After installation, add CUDA to PATH
:
echo 'export PATH=/usr/local/cuda-12.3/bin${PATH:+:${PATH}}' >> ~/.bashrc
echo 'export LD_LIBRARY_PATH=/usr/local/cuda-12.3/lib64${LD_LIBRARY_PATH:+:${LD_LIBRARY_PATH}}' >> ~/.bashrc
source ~/.bashrc
Verify CUDA installation.
nvcc --version # Should show CUDA version
Install cuDNN (For Deep Learning)
cuDNN is a GPU-accelerated library for deep neural networks. To install it, you need to create a free NVIDIA Developer account and then download the cuDNN library that matches your CUDA version.
Alternatively, you can download and install cuDNN directly from the terminal as shown.
wget https://developer.download.nvidia.com/compute/cudnn/9.8.0/local_installers/cudnn-local-repo-ubuntu2204-9.8.0_1.0-1_amd64.deb
sudo dpkg -i cudnn-local-repo-ubuntu2204-9.8.0_1.0-1_amd64.deb
sudo cp /var/cudnn-local-repo-ubuntu2204-9.8.0/cudnn-*-keyring.gpg /usr/share/keyrings/
sudo apt-get update
sudo apt-get -y install cudnn
To install for CUDA 11, perform the above configuration but install the CUDA 11 specific package:
sudo apt-get -y install cudnn-cuda-11
To install for CUDA 12, perform the above configuration but install the CUDA 12 specific package:
sudo apt-get -y install cudnn-cuda-12
Final Thoughts
Setting up an AI development environment on Linux might seem like a lot at first, but it gives you a rock-solid foundation to explore the exciting world of artificial intelligence and machine learning.
From installing Python and setting up virtual environments to leveraging powerful frameworks like TensorFlow and PyTorch, you now have everything in place to build and run AI projects efficiently. And by enabling CUDA and cuDNN support, you can tap into the full power of your NVIDIA GPU to supercharge your model training.